Migrate the eNhax files to Noah ES
Enter the password used to encrypt the eNhax export file thenVerify the data was moved successfully
Clicking Start will create the directory for the nhax files, the directory for nhax files to be migrated to Noah ES is : C:\ProgramData\HIMSA\Noah\NoahESUpload\Files
After you are logged in to Noah ES, select Folder, the destination directory for the nhax files opens. select Continue if you receive a permission prompt, copy the nhax file or multiple files to this directory now
Once the files are in place the migration will begin, progress will be shown in the tool
You can continue to add nhax files to this directory for migration until you hit Stop
Once you Stop the migration to Noah ES will continue running in the background
You can leave the migrator open to view progress details or relaunch later to check the status.
Verify the data was moved successfully
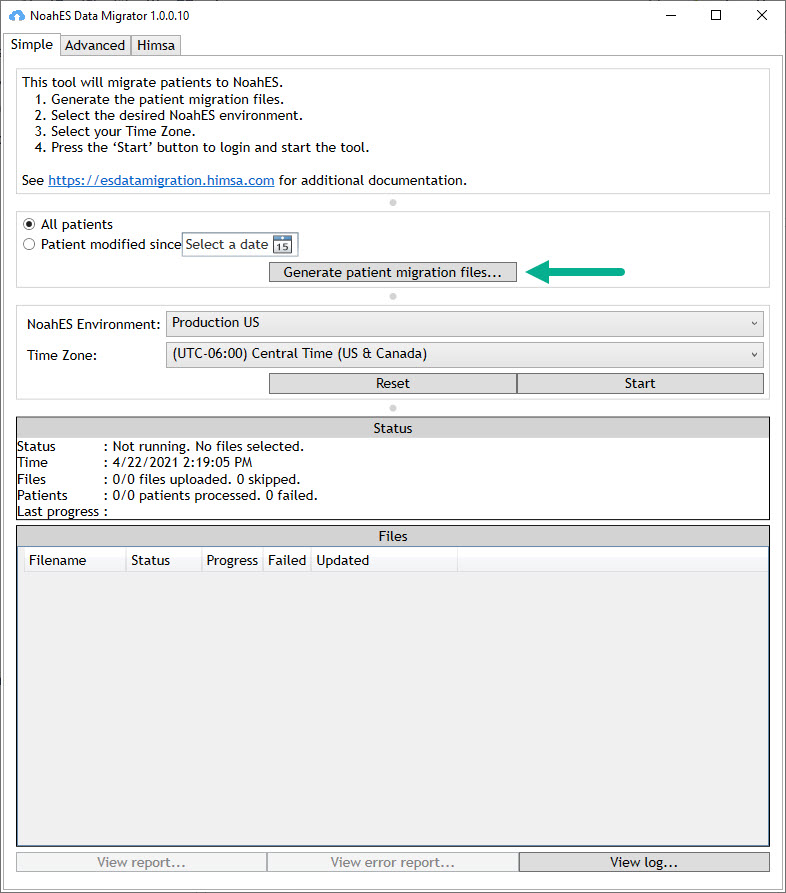
In the Noah ES Data Migrator you can see when the migration is complete under Status and under Files.
The number of files uploaded and number of patient records migrated is displayed.
Review the Status to verify no files were Skipped or Failed.
If any records failed or files were skipped they have not successfully moved to Noah ES. Please review the Error Report for details.
First step to resolve this would be to re-migrate the database with the goal of 0 records Skipped, 0 records Failed.
Report any problems by selecting the ‘View error report’ and then saving and uploading to the Noah ES Support Portal.
Migrate additional patient records at a later date
If you have done the main migration from a Noah System database but add or update additional records to Noah System before you make the final move to Noah ES, you can use the Data Migrator to search for and migrate ‘Patient modified since’ to select recent records.

